
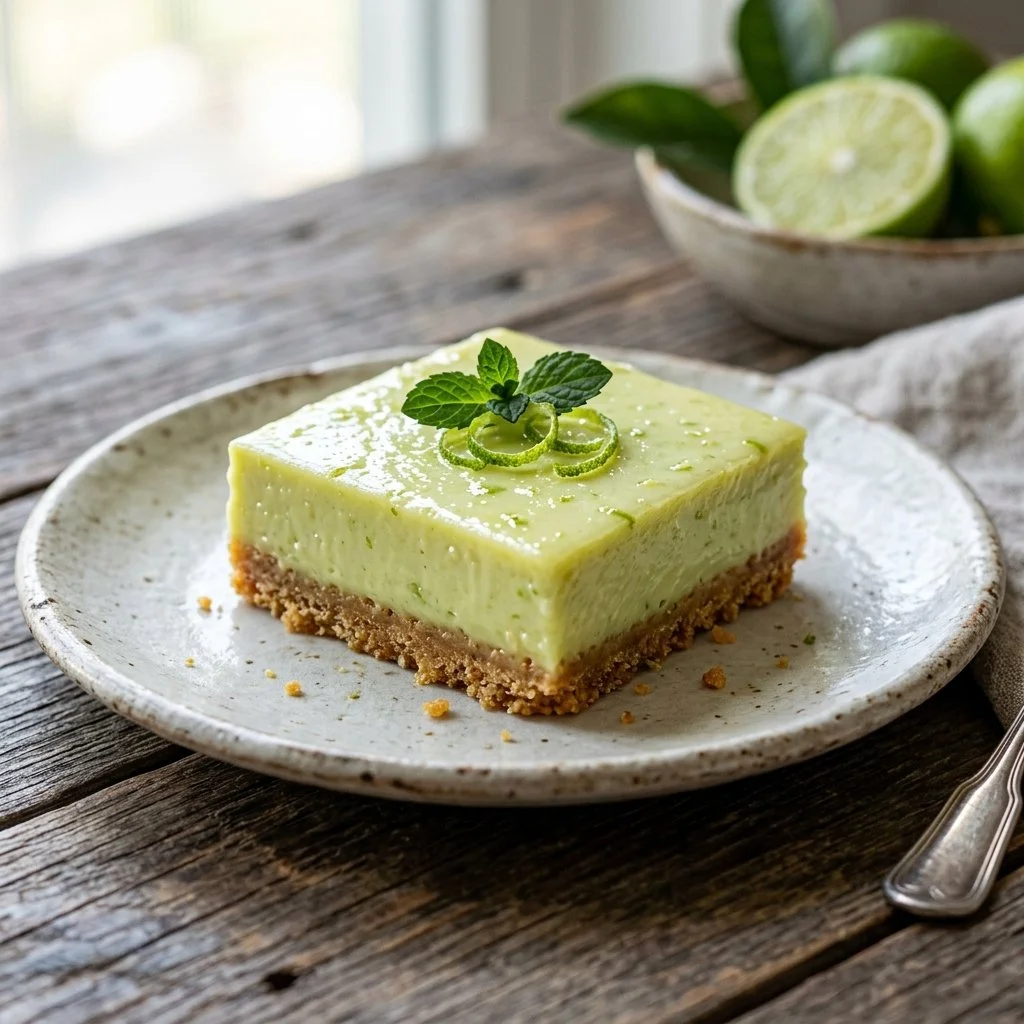
As I meander through the vibrant markets of Florida, the scent of fresh citrus fills the air, swirling around me like a fragrant hug. It’s here, amidst the lively chatter and colorful displays, that I recall the first time I tasted Key Lime Bars. They melted into my taste buds with a perfect blend of tartness and sweetness, leaving me yearning for just one more bite. These bars are more than just a dessert; they are a blissful reminder of long summers spent near the beach, where the sun kisses your skin, and the laughter of loved ones dances in the warm breeze. Today, I’m excited to share with you my beloved Key Lime Bars recipe—a delightful treat that captures the essence of Florida in every square.
Recipe Timing
- Prep Duration: 10 minutes
- Active Cooking: 20 minutes
- Total Duration: 2 hours 30 minutes (includes chilling time)
- Portion Size: 16 bars
- Complexity: Simple
Nutritional Recipe
- Calories per portion: Approx. 150-200
- Protein: 2g per serving
- Carbs: 20g per serving
- Fats: 8g per serving
- Fiber: 0g per serving
- Sugars: 12g per serving
- Sodium: 150mg per serving
Why You’ll Love This Key Lime Bars
Picture this: a golden, buttery crust made from graham crackers cradling a luscious, tangy filling that dances between sweet and zesty. These Key Lime Bars are a true celebration of flavor and texture. The graham cracker crust offers a satisfying crunch, while the creamy, bright custard brings a refreshing, citrusy burst that transports you to a sunny beachside picnic. Whether you’re hosting a gathering or simply enjoying a quiet evening at home, these bars promise to uplift your spirits and satisfy your sweet cravings.
The Complete Cooking Journey
Creating these magical Key Lime Bars is a journey that’s as enjoyable as the delicious result. It starts with a simple graham cracker crust that’s easy to make and requires no fancy equipment. Next comes the smooth, tangy filling, which combines just the right balance of sweetened condensed milk and fresh key lime juice. As they bake, the kitchen fills with an aroma that makes your heart flutter. Once chilled, the bars are dusted with powdered sugar, showcasing their vibrant color and inviting texture. The first bite will have you smiling from ear to ear, wondering how something so simple can bring so much joy.
Ingredients:
- 1 1/2 cups graham cracker crumbs
- 1/3 cup sugar
- 1/2 cup unsalted butter, melted
- 1 can (14 oz) sweetened condensed milk
- 3 large egg yolks
- 1/2 cup fresh key lime juice
- Zest of 2 limes
- Powdered sugar for dusting
Method:
Step 1: Preheat the Oven
Preheat your oven to 350°F (175°C). The warmth of the oven will soon transform simple ingredients into a heavenly treat.
Step 2: Prepare the Graham Cracker Crust
In a bowl, mix graham cracker crumbs, sugar, and melted butter until fully combined. Press the mixture firmly into the bottom of a greased 9×9-inch baking pan, creating a sturdy base for your luscious filling.
Step 3: Whisk the Filling
In another bowl, whisk together the sweetened condensed milk, egg yolks, fresh key lime juice, and lime zest until smooth and creamy. This is where the magic starts to happen—a tangy mixture that promises an explosion of flavor.
Step 4: Bake to Perfection
Pour the filling over the prepared crust, smoothing it out evenly. Bake in the preheated oven for 15-20 minutes, or until the filling is set but still has a slight jiggle in the center. The aroma wafting through your kitchen at this stage is simply irresistible.
Step 5: Chill for Best Results
Once baked, allow the bars to cool to room temperature, then refrigerate for at least 2 hours. Chilling sharpens the flavors and makes cutting the bars into perfect squares a breeze.
Step 6: Dust and Serve
Cut into bars and dust with powdered sugar before serving. A snowy layer of sweetness on top makes these bars as beautiful as they are delicious.
Serving Suggestions & Pairings
These Key Lime Bars were made for summer gatherings, BBQs, or simply serving alongside a cup of tea. Pair them with whipped cream, fresh berries, or a scoop of vanilla ice cream for a delightful contrast of flavors. They also shine at potlucks, where their bright color and tangy taste can steal the show.
Storage & Leftovers Guide
Store any leftovers in an airtight container in the refrigerator, where they will keep well for up to a week. Just remember, the bars are best enjoyed cold, keeping their refreshing qualities intact for those late-night cravings or unexpected guests.
Kitchen Wisdom & Success Tips
- Ensure that you’re using fresh key limes when possible; they offer a vibrant flavor that bottled juice simply can’t replicate.
- Press the graham cracker crust firmly to the pan—this helps create a strong base that holds up well.
- If you find fresh key limes hard to come by, regular limes are a fine substitute, but adjust the sweetness slightly since they can be less tart.
- Experiment with adding a little coconut or almond extract to the filling for a twist on the traditional flavor.
Flavor Variations & Adaptations
Feeling adventurous? Try adding a swirl of raspberry puree or a sprinkle of toasted coconut on top before serving. You could even make a layered version with a cheesecake layer beneath the lime filling for a richer twist!
Reader Questions & Solutions
-
Can I use regular limes instead of key limes?
- Yes! Regular limes will work fine. You may need to tweak the sugar slightly to balance the flavors.
-
What’s the best way to cut these bars?
- Use a sharp knife (dipped in hot water and wiped dry) for clean edges. Dusting the knife with powdered sugar can help, too.
-
How can I make these bars gluten-free?
- Substitute traditional graham crackers with gluten-free versions, and you’re good to go!
-
What’s the secret to a smooth filling?
- Make sure to whisk all ingredients thoroughly until fully combined—no lumps allowed!
-
Can I freeze these bars?
- Yes! Wrap individual bars in plastic wrap, followed by foil, and they can be frozen for up to 2 months. Thaw in the refrigerator before serving!
Wrapping Up
These Key Lime Bars are more than just a dessert; they are a slice of sunshine that brightens your day. I hope you try this recipe and share it with your loved ones. Whether it’s a family gathering or a quiet evening at home, may these bars evoke the same warmth and joy that they bring to my kitchen. Enjoy every bite, and happy baking!